
 One of the most goals in blogging is to attract advertisers to our respective blog in order to support or sustain our career.To achieve this goal, we need to beautify our sidebar which is one of the places where to put those advertisements. Here, I will show you a very simple steps on how to do that.
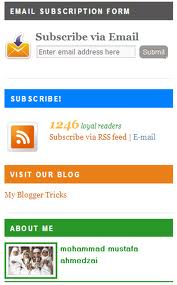
Adding Professional Background Photo in Blogger Sidebar
Step 1. Log-in to your Blogger Account
Step 2. Click the Template button (have a back-up of your template)
Step 3. Hit the Edit HTML button and locate the code below at the Blogger Template Editor's page
Step 4. Just above the code ]]> paste the code below]]></b:skin>
.fauxcolumn-right-outer .fauxcolumn-inner {
background-image: url (https://blogger.googleusercontent.com/img/b/R29vZ2xl/AVvXsEh0RoDUZi7A1y0SWEPnyltLuGXX82itU3iduxPIWUjKLCdS2wNYGmL_nt0hCmQM_JZaNcW2XAaOgN-SZFZz47IgB2EnHVIY2-EgiMOome2hGV-BZQatytXdouRP8tHpsReKxAMV72CKGXIO/s1600/background+right.png);
border-radius: 16px;
margin-left: 20px;
height: 100%; }
Customization
Adjust the border radius or the rounded corners (16px). Greater value will make the rounded corners big while lesser value will make the rounded corners small.
You can also get the wall paper from http://www.dinpattern.com/


No comments:
Post a Comment